DIY Hardwood Floor Installation: Tips and Tricks for Success
Embarking on a DIY hardwood floor installation project can be a rewarding way to enhance your Athens, GA home. While the process may seem daunting, with the right preparation and insights, you can achieve professional-looking results. Hardwood Floors Athens is here to guide you through the essential tips and tricks for a successful DIY hardwood floor installation.
Planning and Preparation: The Foundation of Success
Measure Twice, Cut Once
Before you begin, accurately measure your space to determine how much flooring you'll need. It's wise to purchase an additional 10% more material than your measurements dictate to account for cuts and potential mistakes.
Choose the Right Wood
Select a hardwood that complements your home’s aesthetic and lifestyle needs. Consider factors like hardness, grain pattern, and finish. In Athens, GA, where humidity can fluctuate, opting for engineered hardwood might be beneficial due to its dimensional stability.
Acclimate Your Flooring
Hardwood needs to acclimate to your home’s environment to prevent future warping or gapping. Store the unopened boxes of flooring in the room where they will be installed for at least 48 to 72 hours.
Installation Day: Laying the Groundwork
Tools and Materials
Ensure you have all the necessary tools and materials before starting. Essential items include a saw, hammer, nails, moisture barrier, underlayment, and spacers. Renting specialized tools like a floor nailer can also save time and ensure quality.
Subfloor Preparation
A clean, level, and dry subfloor is crucial for a successful installation. Repair any imperfections and ensure the subfloor is free of moisture. Installing a moisture barrier is especially important in Athens, GA, to combat humidity.
Layout Planning
Plan your layout carefully. Begin by laying out your planks to visualize the floor pattern and decide on the direction of the boards. Remember to leave a gap around the perimeter of the room for expansion.
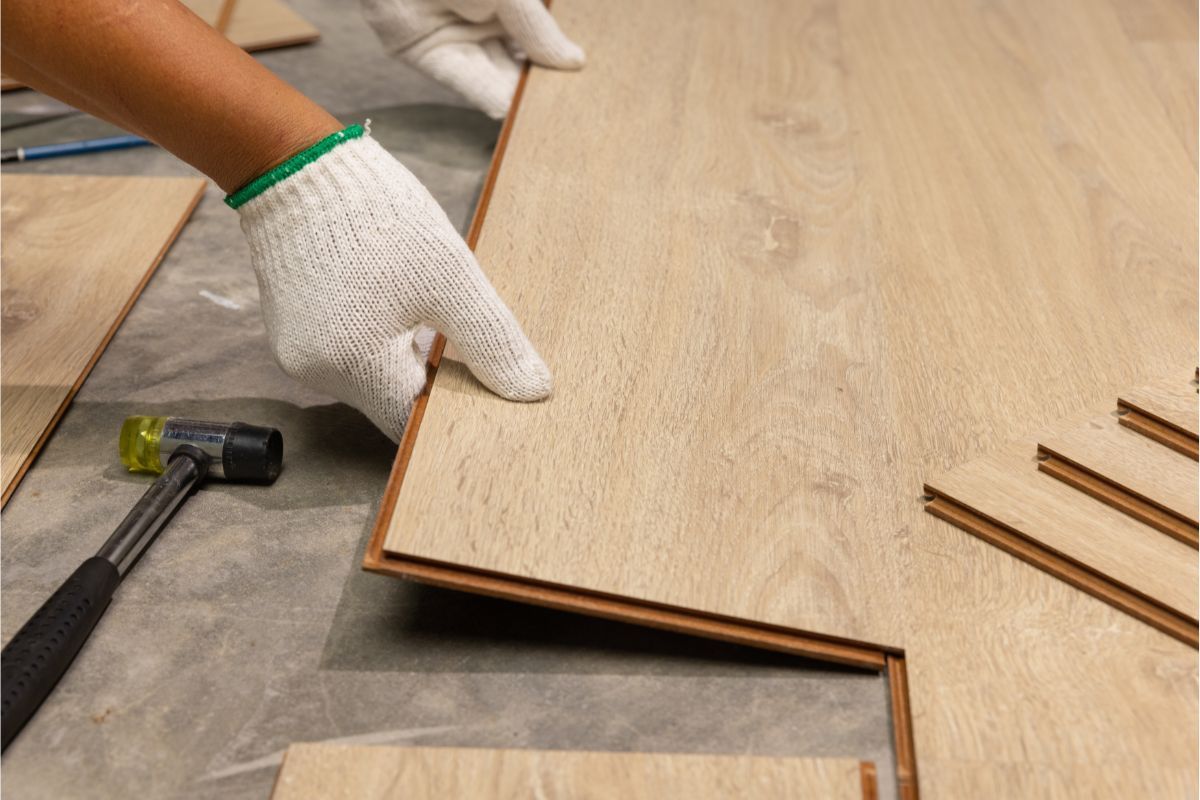
The Installation Process: Piecing It Together
First Row is Key
The first row of hardwood is critical as it sets the tone for the entire project. Ensure it is straight and secure. Use spacers to maintain the expansion gap along the walls.
Stagger the Seams
As you lay the flooring, stagger the seams between boards to enhance durability and aesthetics. A general rule is to keep end joints at least 6 inches apart from row to row.
Nailing and Finishing
Follow the manufacturer's instructions for nailing down the planks. For a DIY project, pre-drilling holes for nails can prevent splitting. Once the floor is laid, install baseboards or shoe molding to cover the expansion gaps, but ensure they do not pin down the flooring, allowing it to expand and contract.
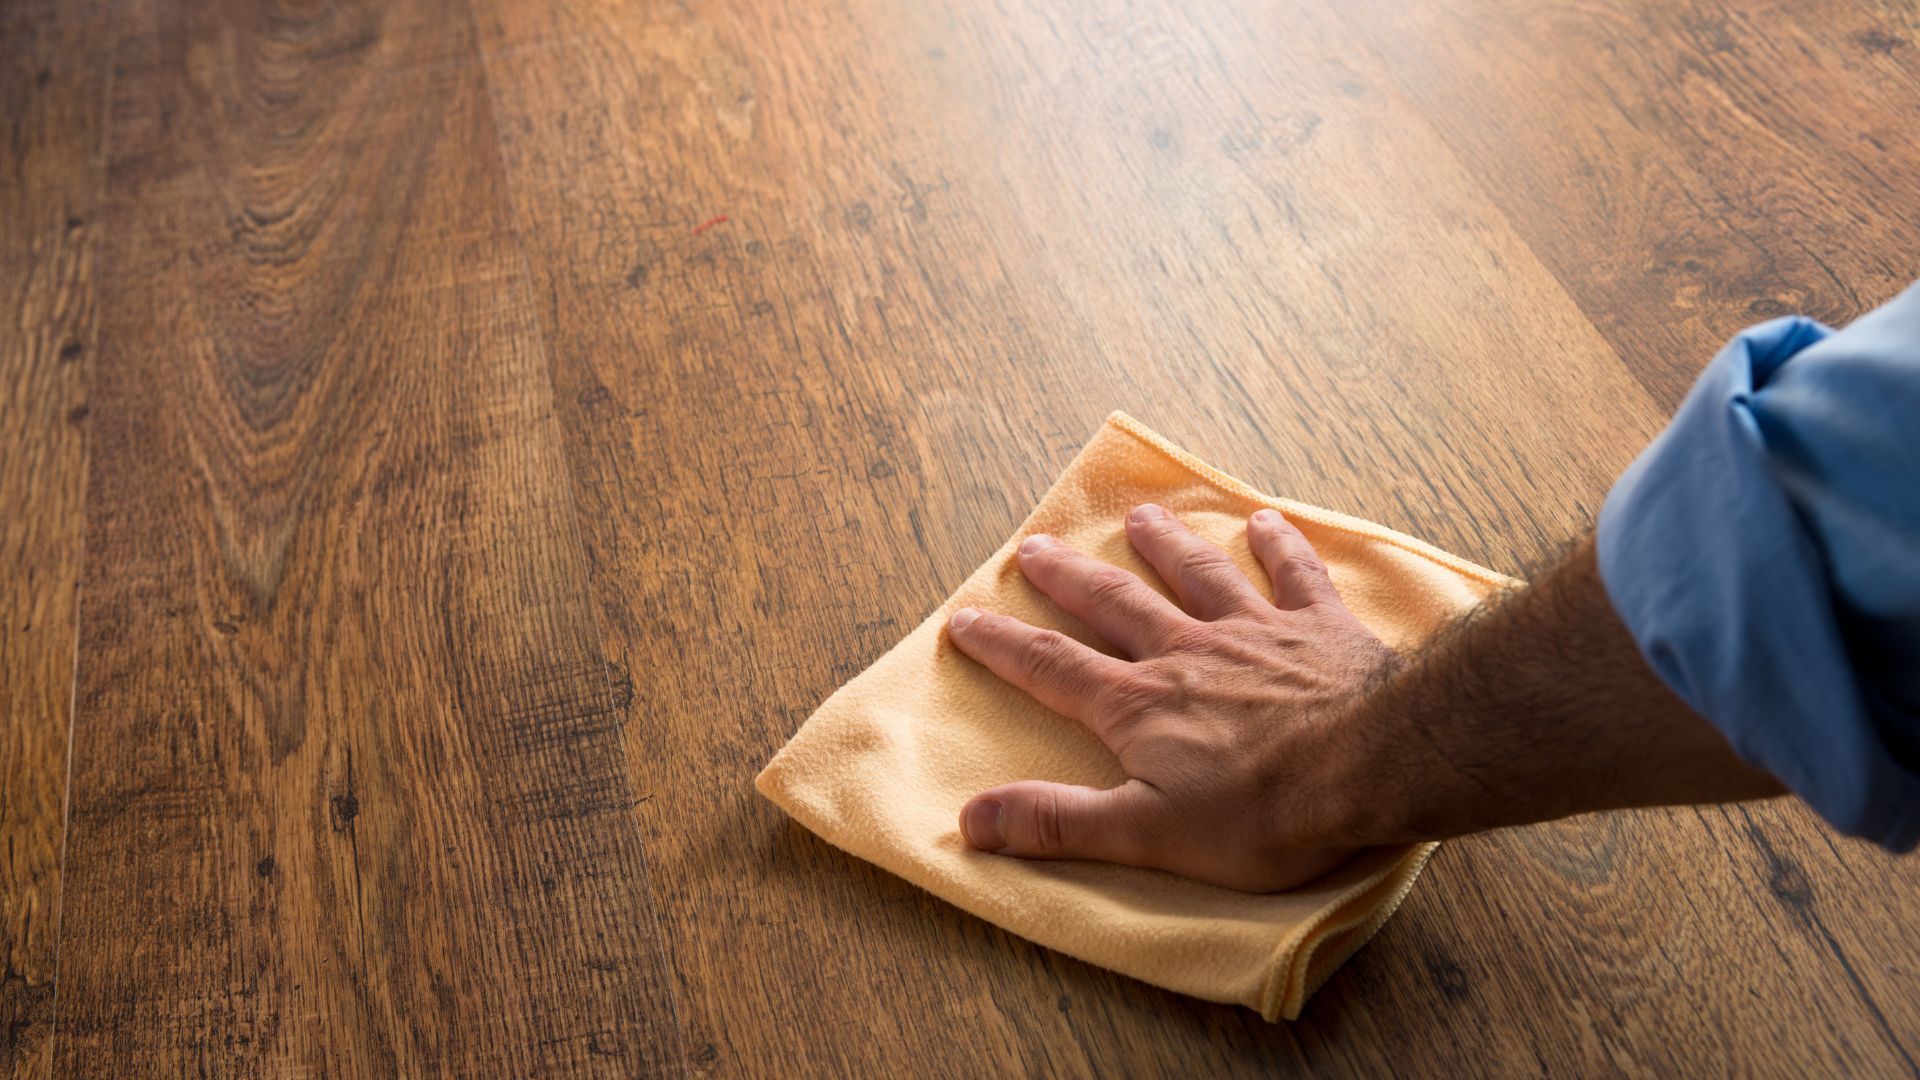
After Installation: Care and Maintenance
Protect Your Investment
Immediately after installation, place felt pads under furniture to prevent scratches. Keep the floor clean from dirt and grit that can wear down the finish. Regular maintenance and avoiding excess moisture will keep your new hardwood floors looking beautiful for years to come.
Conclusion
DIY hardwood floor installation in Athens, GA, requires careful planning, patience, and attention to detail. With the right preparation and by following these tips, you can install a hardwood floor that you'll be proud of. Hardwood Floors Athens supports DIY enthusiasts with quality materials and expert advice. Ready to start your project? Reach out for guidance and supplies to ensure your DIY success.
Hardwood Flooring FAQs
Can I install hardwood floors over concrete?
Yes, but you'll need to use engineered hardwood and ensure you install a proper moisture barrier and underlayment to protect against humidity.
How do I deal with doorways when installing hardwood flooring?
Trim the door casings and use T-molding in the doorway to allow for expansion between different rooms.
What's the best way to cut hardwood planks?
Use a miter saw for crosscuts and a table saw for rip cuts. Always wear safety goggles and follow the tool's safety instructions.
How long after installation can I walk on my new floors?
You can walk on your new floors immediately after installation, but wait at least 24 hours before moving furniture back into the room to allow the floor to settle.
How do I maintain the humidity levels in my home to protect my hardwood floors?
Use a humidifier in the winter and a dehumidifier in the summer to keep humidity levels between 35% and 55%, which is ideal for hardwood floors.
You might also like